Creating your own LED neon-style sign can be a fun and simple project, whether in the classroom or at home. Unlike traditional gas neon signs, LED neon signs are more environmentally friendly, energy-efficient, and durable. This tutorial is designed for students and teachers to guide you through the DIY process of making your own LED neon sign.
Start by sketching your design on paper. For beginners, choose simple shapes like hearts or stars or short words. Transfer this design onto your acrylic sheet or plywood using a marker or chalk to guide the placement of the LED strip.
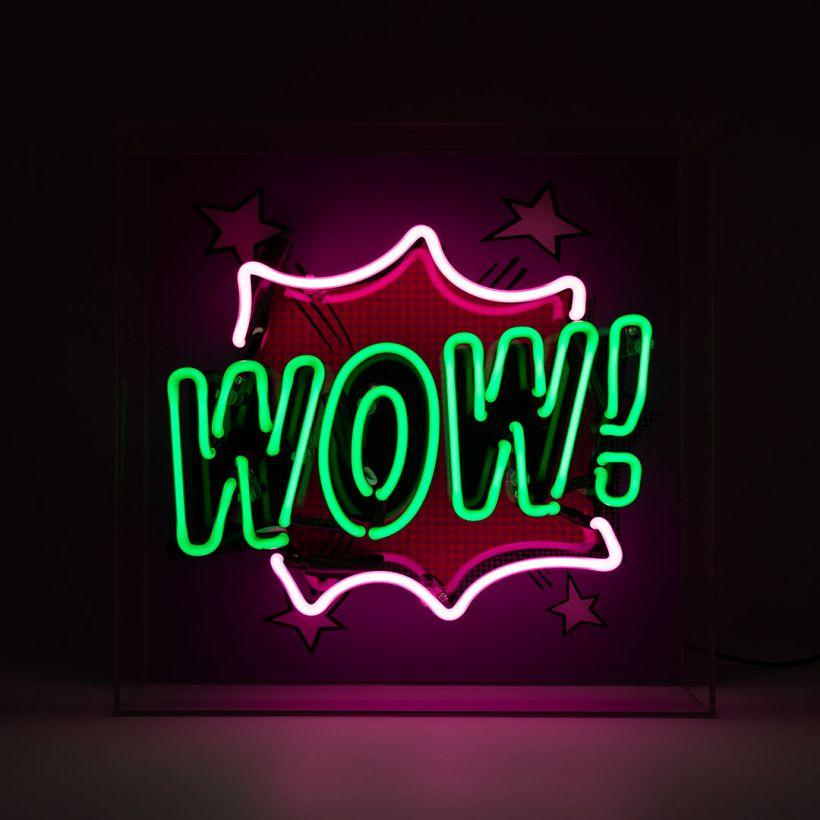
Measure the length of LED strip needed for your design (fig. 1). Cut the strip at the designated points using wire cutters or scissors.
Carefully shape the LED strip to follow your design. Handle it gently to avoid damaging the internal wiring, especially around sharp corners and tight curves.
Remove the adhesive backing from the LED strip and press it firmly along the design lines. If the strip doesn't have adhesive backing, use mounting clips or apply a strong adhesive and let it dry.
Follow the manufacturer's instructions to connect the LED strip to the power supply. Typically, this involves connecting the strip's wires to the power adapter. If there are exposed wires, cover them with heat shrink tubing.
Plug in the power supply and turn on the sign. Ensure all parts of the LED strip light up evenly. If there are any issues, check the connections and make adjustments as needed. Once tested, unplug the sign and finalize the placement of the LED strip.
Drill holes in the base corners if you plan to mount the sign on a wall and use screws to attach it. Alternatively, place the sign on a shelf or desk.
Clean the base to remove any markings or dust. You can also paint or decorate the base for a more personalized look.
Creating a DIY LED neon sign is a rewarding and creative endeavor, ideal for classrooms. It provides valuable experience in design and electronics, and results in a custom, functional piece of art. By following these steps, students and teachers can produce colorful, personalized signs for any setting. Gather your materials, plan your design, and get started on your LED neon sign!
Author Bio:
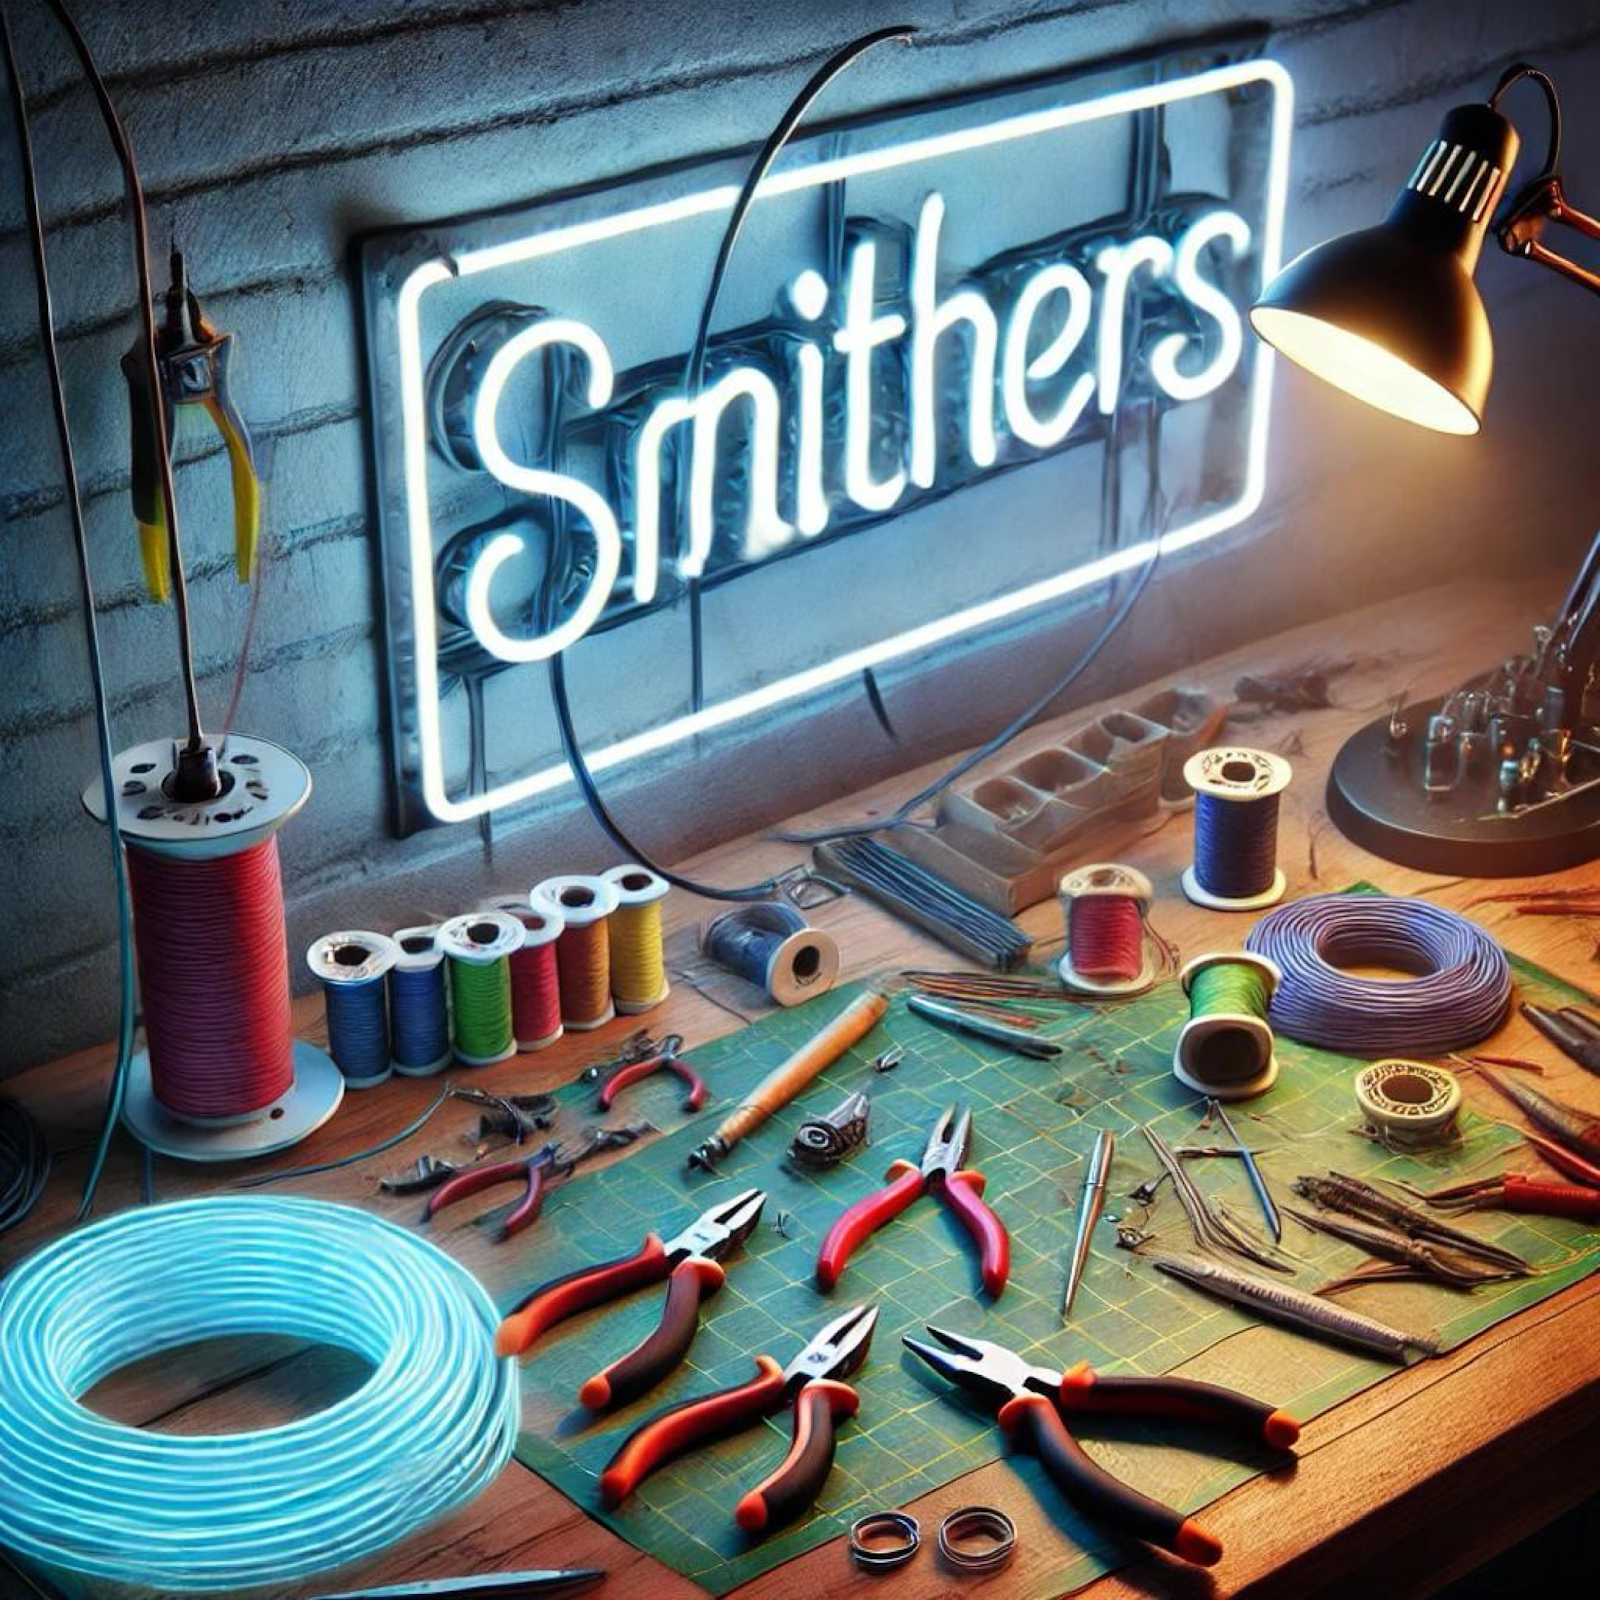
Smithers Of Stamford offers eclectic furniture and homeware from around the world, founded by Nick Smith, who blends a passion for vintage, rustic, and iconic styles. Nick is also a custom LED neon sign maker, combining classic design with modern technology. His experience in the antique trade enhances his work, which includes creating bespoke neon signs and curating upcycled treasures.
Church Farm, Main Road, Etton, Peterborough, Cambridgeshire PE57DA